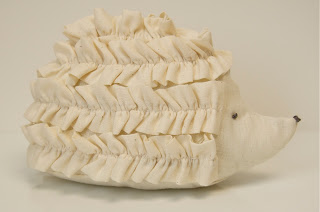
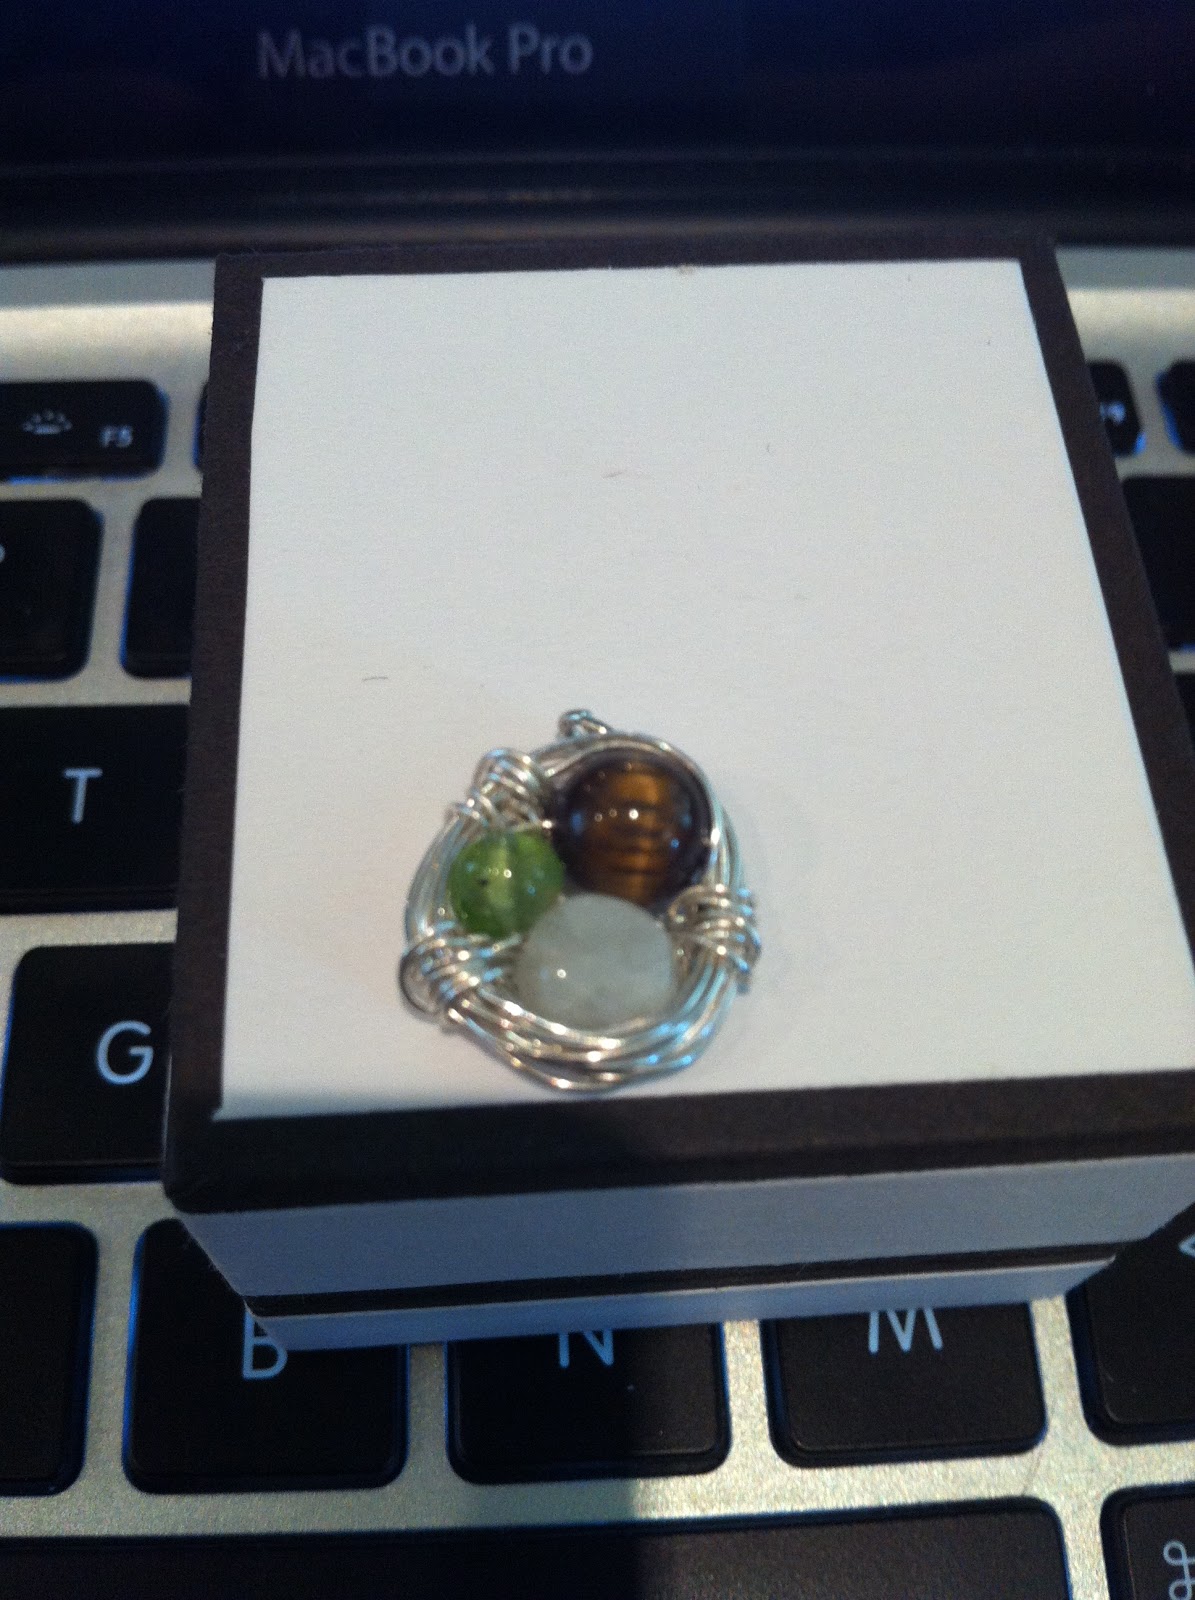
I was perusing pinterest, as I often do, when I came across this amazing looking craft:
...but it's not a craft. I find it horribly misleading when I find a pin in the DIY and crafts section and all it does is send me to a site to buy whatever thing I think is adorable. But then I thought, "Hey, I can do this," and went to work.
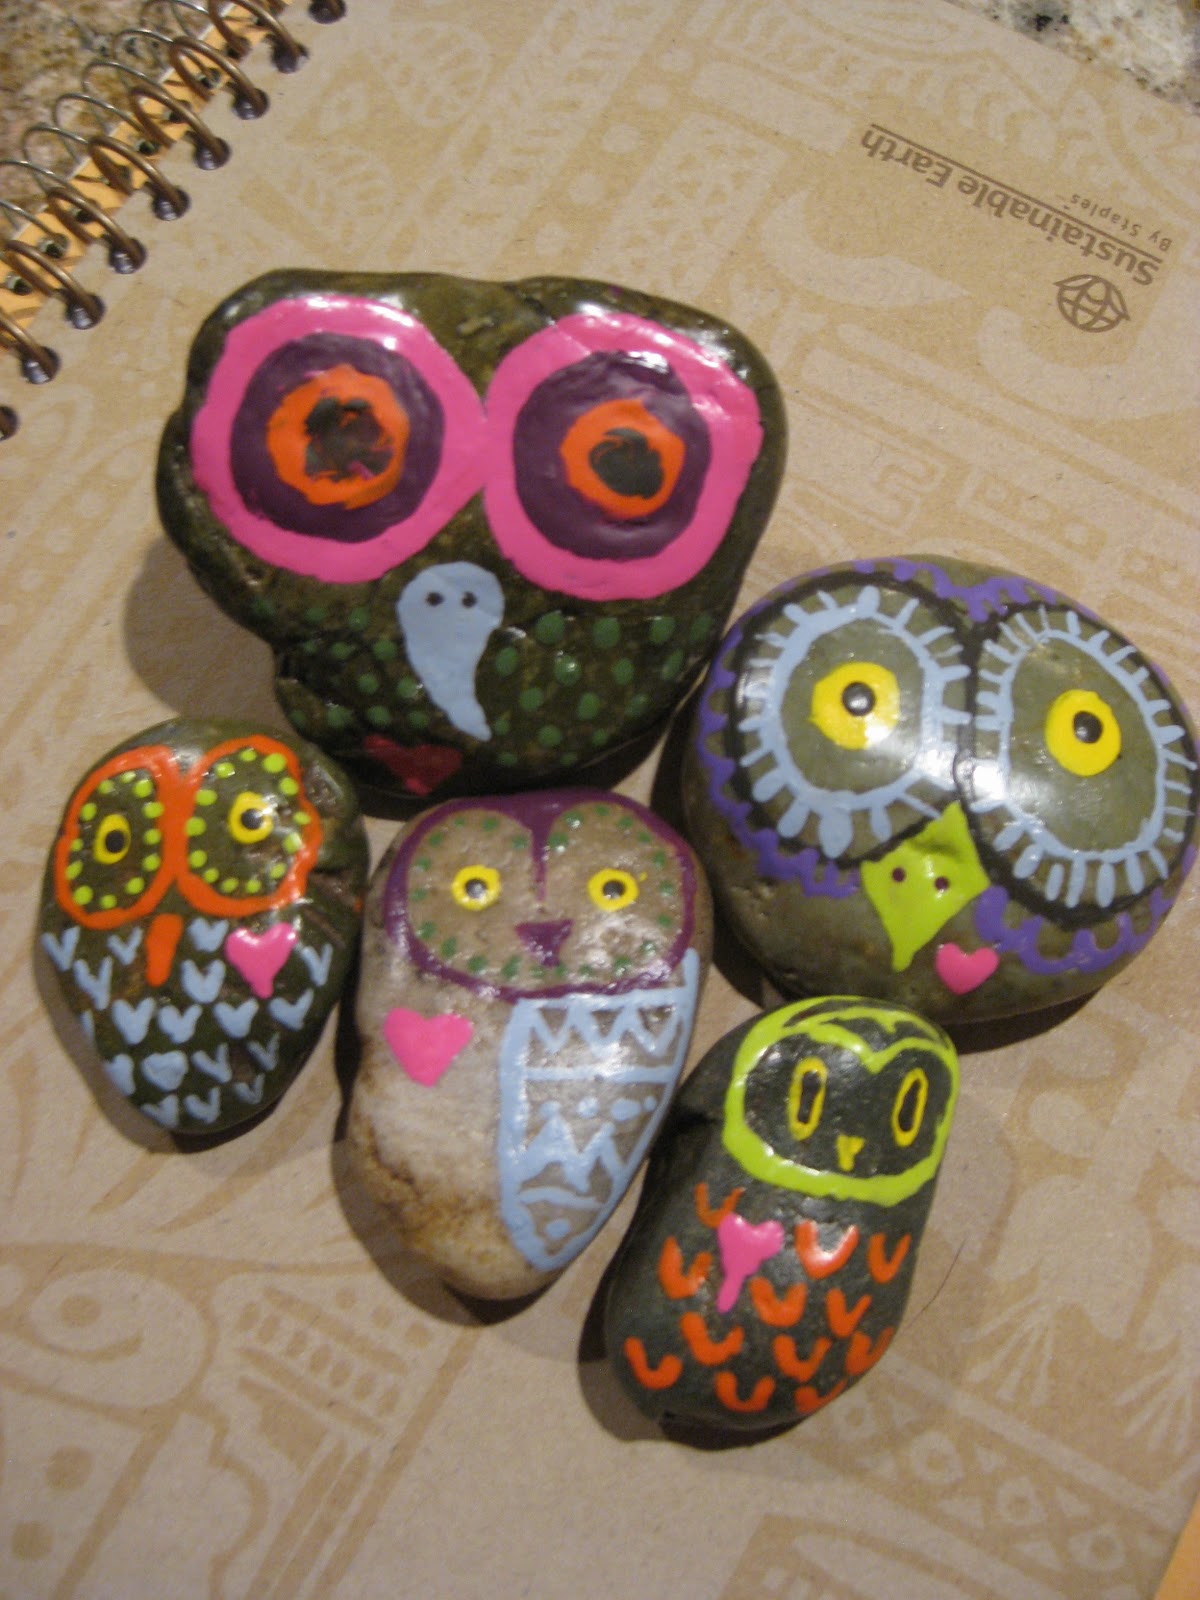
My mom is going through the owl phase, just like the rest of the fashionable world, and she loves stuff made by my sister and me. So what better Christmas gift than a family of rock owls, made by her lovely daughter? So I made her some adorable owls!
This craft was so easy and fun to do. All I did was scour my backyard for a few flat, owl shaped rocks. Some I had to kind of dig out because they had nearly become "one" with the earth. If you have a creek near your home, it would be really cool to get some river stones, and convenient, because they are typically smoothed down from all that water erosion, which makes a better painting surface. Although I have seen that people will pick out rocks and sand them down before polishing them to make them smooth, so that's always an option for the people who aren't, yanno, lazy like me.
The hard part was picking out what paint colors I wanted to use. The more colors the merrier in my family, but the pallet we have only has spaces for eight colors, so I had to limit myself just this once. I used acrylic paints because that's just what we have lying around from other projects, but I'm sure that you can use any type of permanent paint out there.
To apply the paint, I figured that a regular paint brush would make too big of blops on my rather small rocks, so I ended up using a separate toothpick for each color. It worked perfectly, but there is a lot of time spent on reapplying paint to the toothpick because it just doesn't have any capacity to hold paint. It was a small price to pay for such a cute outcome. I really liked that each of the owls from the etsy shop had hearts incorporated in their design, so I made sure to put a heart on each of my owls. My lines are not as crisp as the ones from the store, nor are my owls as detailed, but I am all the same, satisfied. In fact, I love the colors! And now that I'm done I have a sneaking suspicion that the etsy shop owner used a pen for their designs.
Once the paint was dry I put a clear varnish on top just to make them look shiny and seal in the paint. We do not like chipped paint! Once the varnish was dry I wrapped them in tissue paper and they are all ready as stocking stuffers for my mom! That's one gift marked off my list.
Total effort put into this project was probably around 2 hours. But adding in the drying time it was more like 5 or 6 hours. The stress level of this project was nill. I put down some plastic on our coffee table and painted while I watched TV. I felt like I just had a little day to myself.
Oh, and then there was this little guy:
Poor thing was messed up, and a frustrated Anne wiped off what paint was still wet on him. He was the littlest of the rocks. Maybe I'll finish him up tomorrow. I just feel bad leaving him so....dead looking. It's really sad.
Happy crafting! If you have any questions feel free to ask.
<>Anne